Why Village Fair Selling Needs Its Own Plan
A Village Fair booth is not a storefront with the front door removed. It is not quite a farmers market table either. Load-in, weather exposure, pedestrian flow, payment reliability, and setup time all land in the same short window, and the vendor has to make good decisions while the street is changing around them.
For the Ossining Village Fair, that means planning the booth as a temporary operation, not just a display. Local retailers, food vendors, service businesses, artists, nonprofits, and sponsors all need the same basic structure: confirm the rules, pack for the footprint, keep visitors moving, and leave the space clean at the end.
Load-in windows are usually restricted to roughly a 60-to-90-minute window before pedestrian barriers are locked in place. That small fact changes almost everything. A display that takes two hours to assemble may look beautiful in a studio and still become the wrong design for a fair street.
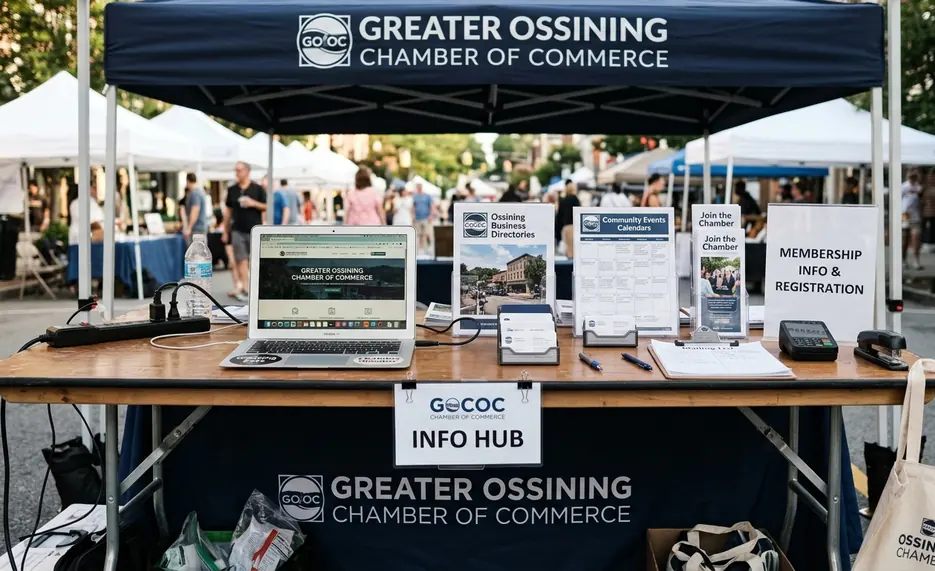
The Greater Ossining Chamber of Commerce serves as a local business convener for the fair community. Still, each vendor should confirm current instructions with the official organizer or the application materials for that specific year.
Quick Nav
- Start with rules before buying booth supplies.
- Map the booth as a workstation, not a showroom.
- Separate display inventory from backstock and protected reserve stock.
- Assign staff roles before the first visitor arrives.
- Use a chronological setup sequence on fair day.
Start With the Rules Before the Booth
Booth planning begins with constraints, not decoration. The practical questions come first: vendor category, approved footprint, assigned location, setup time, breakdown time, electricity availability, fire-safety requirements, food handling rules, signage limits, and insurance documentation.
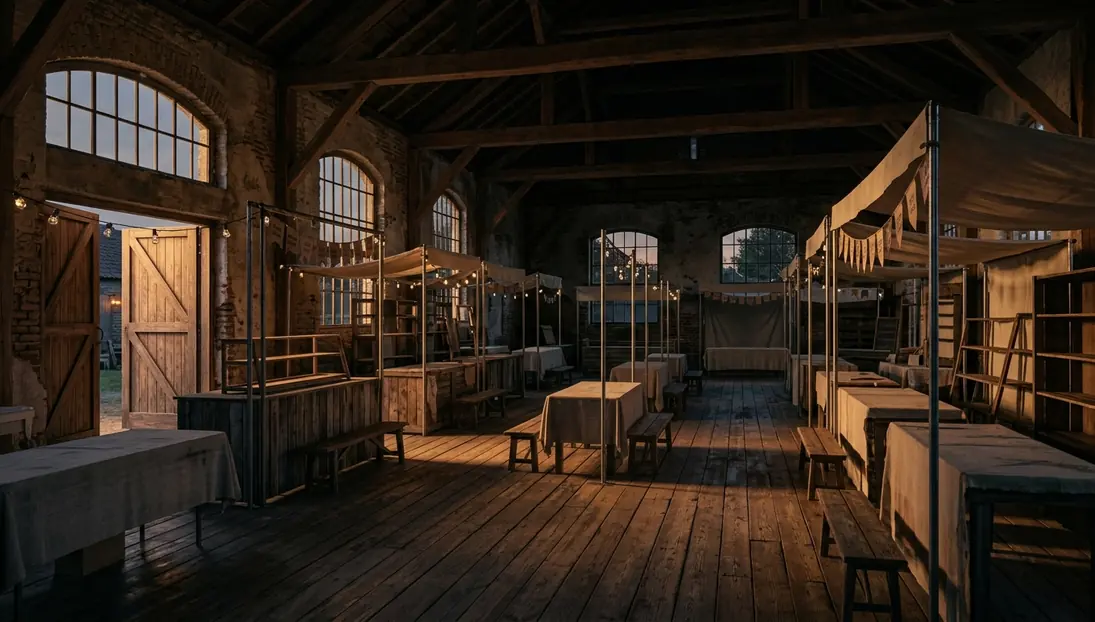
Common booth footprints are enforced at 10x10 feet or 10x20 feet, with no allowance for overhanging tent legs into emergency fire lanes. That is not a design preference. It is a street-safety requirement, and it should guide the size of tables, racks, signs, coolers, and storage bins before anything gets loaded into a vehicle.
Documents to Locate First
- Vendor acceptance confirmation.
- Event map or booth number.
- Payment receipt.
- Certificate of insurance, if required.
- Resale or sales tax documentation, where applicable.
- Food permits, if selling prepared food.
- Emergency contact information.
Chamber or event materials may explain fair-specific logistics such as load-in, booth placement, and staging routes. Municipal or state requirements may govern permits, taxation, and safety obligations. Sales tax collection requirements can vary depending on whether the vendor sells packaged artisanal goods, hot prepared food, or tax-exempt apparel, so vendors should consult New York State sales tax vendor guidance when tax status is unclear.
Caution: Do not buy a larger tent, taller sign, or powered display until the booth footprint, electrical permission, and documentation requirements are confirmed for the current fair year.
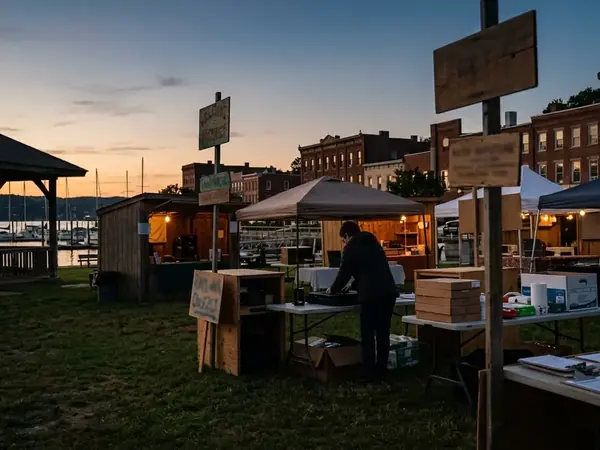
Treat the Booth as a Workstation
A good booth works like a small operating system. It has a customer approach zone, a display zone, a transaction zone, a storage zone, a staff movement path, and a weather-protection zone.
Draw it from above before fair day. A simple sketch should show table placement, tent legs, product bins, the checkout device, extension cords if approved, a trash bag, water, chair, backup inventory, and required weights. Tent weights usually need to secure 40 to 50 pounds per leg to withstand sudden wind gusts along the riverfront.
Why the Sketch Matters
Organizers initially considered allowing vendors to arrange tables in a U-shape at the front of the booth line to maximize display area. After watching how that layout trapped customers inside the booth and slowed movement along the aisle, the operating lesson became clearer: more surface area is not always better service.
The visitor should be able to see what is offered, ask a question, pay without blocking the aisle, and move on without crowding the neighboring booth. That is the standard to design around.
Expert Tip: Tape the booth sketch to the inside lid of a supply bin. On a loud setup morning, a drawing settles more arguments than a memory.
Plan Inventory, Pricing, and Payment Flow
One-day outdoor selling rewards focus. Vendors should decide which products or services make sense for a fair setting, which items can be demonstrated quickly, and which items are too fragile, bulky, perishable, or complicated to explain while pedestrians are moving past.
For many small vendors, the best planning question is not “What can be brought?” It is “What can be sold, restocked, packed, and explained under fair conditions?”
Use Three Inventory Categories
- Display items: The cleanest, clearest examples of what is being offered. Pack these where they can be reached first during setup.
- Sellable backstock: Labeled inventory that can refill the display without opening every bin in public view.
- Protected reserve stock: Items held back from sun, wind, handling, or crowd exposure until needed.
Pricing should be visible. Staff should know whether listed prices include tax or require calculation at checkout. If discounts, bundles, or donations apply, those rules should be written down rather than improvised from memory.
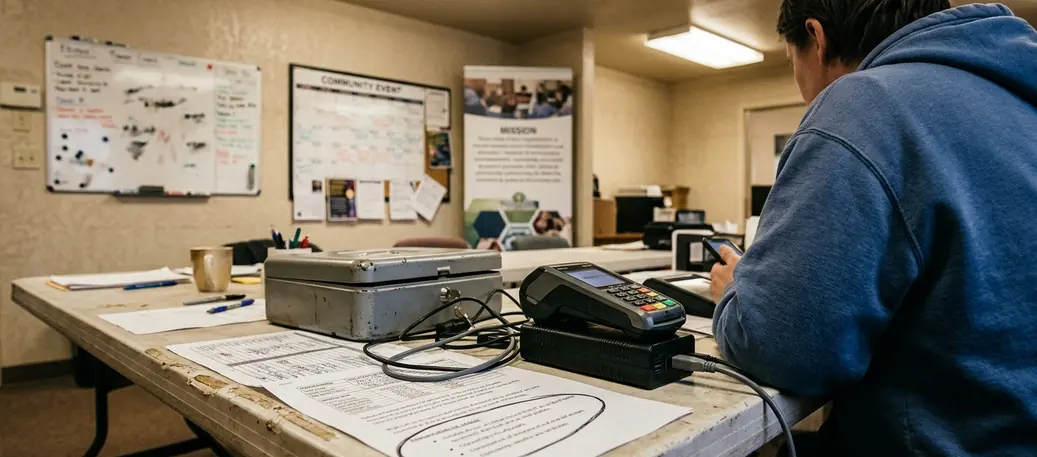
Payment flow deserves the same attention as product display. Mobile point-of-sale terminals require backup power banks capable of sustaining about 8 to 12 hours of continuous Bluetooth and cellular data usage. Vendors relying solely on cellular-based payment terminals without a cash float or offline mode may run into trouble during peak afternoon network congestion.
Fair-Day Emergency Kit Essentials
- 40-to-50-pound tent weights, such as sandbags or cast iron, not water jugs.
- Heavy-duty zip ties and bungee cords for securing signage.
- Backup battery bank, charging cables, and any payment-device adapters.
- Printed QR codes for digital payment, where appropriate.
- Small bills for change if accepting cash.
- Trash bags, tape, pens, labels, and a clipboard.
Staff for Questions, Breaks, and Access
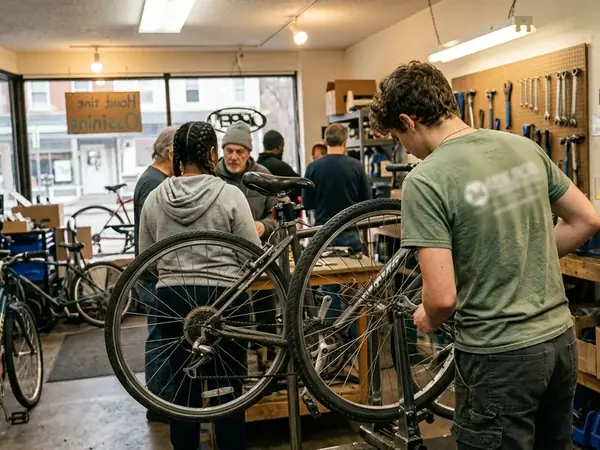
Staffing is not only about placing someone behind a table. The booth needs someone to greet visitors, explain products, process payments, monitor inventory, handle food or samples if applicable, and take breaks without leaving the booth unattended.
A 10x10 booth generally needs two staff members to ensure continuous coverage during 15-to-20-minute restroom or hydration breaks. That may feel like a lot for a small vendor, but a fair day is long, and the busiest moment often arrives when one person is already solving another problem.
Assign Roles Before the Crowd Arrives
- Greeter: Welcomes visitors and answers simple questions.
- Product explainer: Handles details, demonstrations, or service conversations.
- Checkout lead: Keeps payment, receipts, and tax handling consistent.
- Restock runner: Replenishes display items and watches supply levels.
- End-of-day packer: Leads breakdown so the booth does not sprawl into the aisle.
Single-person booths need a written break plan. That may mean arranging emergency contact coverage with a neighboring vendor, a helper, or the event contact identified in the vendor packet.
Accessibility is part of civic-minded service. Keep walkways clear. Avoid placing boxes where visitors may trip. Position signs at readable heights. Make it easy for a visitor to ask a question without stepping into the storage area or leaning across merchandise.
Fair-Day Setup Sequence
The strongest setup sequence is plain and repeatable. On a busy street, order matters more than cleverness.
Chronological Setup Checklist
- Arrive during the assigned window.
- Confirm the booth number before unloading.
- Unload efficiently and keep materials inside the footprint.
- Move the vehicle if instructed.
- Secure tent weights before building out the display.
- Place tables and install table covering.
- Set display height and customer approach space.
- Test payment tools, backup batteries, and QR codes.
- Place pricing where visitors can see it.
- Store boxes safely behind or under the display.
- Complete a final aisle check before opening.
Early load-in privileges are limited to vendors with commercial cooking equipment or multi-tent setups. Standard retail vendors arriving before their assigned around 45-minute window can be turned away at the staging area, so the better move is to pack for speed rather than hope for extra time.
Food and Sampling Note
Vendors offering food, beverages, or samples should keep required permits, sanitation materials, gloves or utensils, covered containers, temperature-control supplies if needed, and waste handling materials ready for inspection or review. During program reviews, perishable food vendors may be asked to show that cold items stay below 41°F and hot items stay above 135°F throughout the 6-to-8-hour event duration.
Main Point: The best booth is not the most complex booth. It is the booth that can be installed quickly, operated safely, explained clearly, and packed down without disrupting neighboring vendors.
What This Checklist Cannot Confirm
This checklist is an operational planning aid. It is not a permit approval, legal opinion, insurance review, tax determination, or food-safety certification.
For this topic, current-year instructions carry more weight than last year’s habits. Vendors should verify the items that can change by date, location, agency review, or event layout.
Confirm These From Current Primary Sources
- Booth assignment.
- Fair date and hours.
- Load-in route.
- Parking instructions.
- Insurance requirements.
- Weather policy.
- Cancellation policy.
- Food-vendor rules.
- Electrical permissions.
- Sales tax registration.
- Any village or county requirements.
Temporary food service permits must be submitted to the county health department close to 14 to 21 days before the event date. Vendors should not treat that timeline as optional planning space. It belongs near the top of the calendar.
Citations
- New York State Department of Taxation and Finance: sales tax vendor guidance linked above for vendors reviewing registration and collection responsibilities.
After the Booth Comes Down
Breakdown is still part of the public operation. Post-event breakdown must be completed, and all trash removed from the footprint, within a 60-to-75-minute window before municipal street sweepers begin their route.
Closeout Checklist
- Reconcile payments.
- Note sold-out items.
- Record common customer questions.
- Separate damaged display materials.
- Save receipts.
- Update inventory.
- Contact leads or interested customers promptly.
The best notes are written before the day becomes a blur. Record what took too long to set up, what signage worked, what customers misunderstood, which products needed better packaging, and what should be packed differently next time.
A fair booth also leaves a civic footprint. Vendors should consider thanking neighboring booths, sponsors, organizers, or civic partners where appropriate. Keep those messages specific and honest. A steady community presence is built through clean operations, respectful follow-through, and claims that can be documented.


Join the Discussion